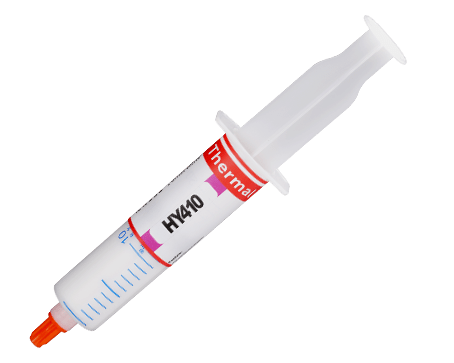
Guide on How to Apply Thermal Paste and Thermal Pads to Various Devices
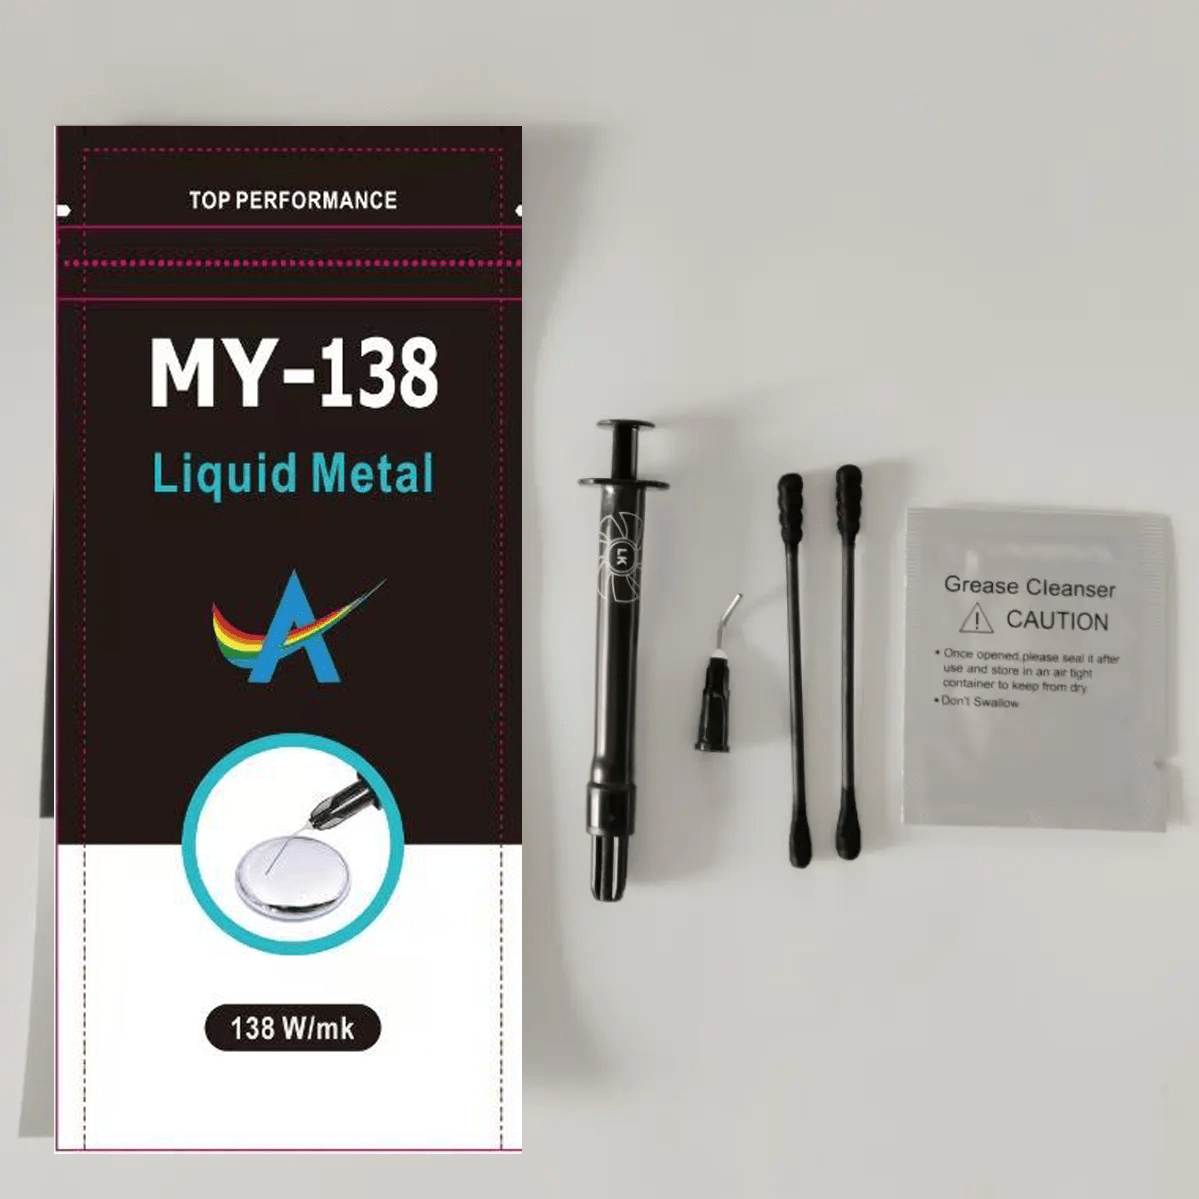
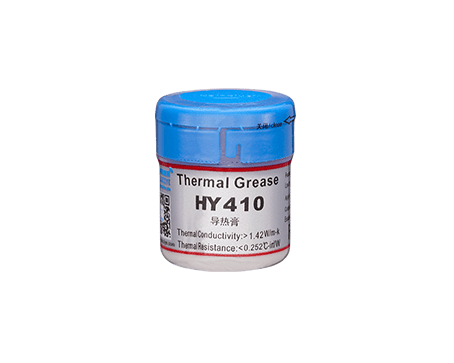
Thermal paste and thermal pads are both used to improve heat transfer from a component (like a CPU or GPU) to its cooler or heatsink. Thermal paste is a liquid-like substance, while thermal pads are solid materials that serve a similar function. Below is a guide on how to apply them to different devices.
1. PC (Desktop Computer)
Thermal Paste
What you’ll need:
- Thermal paste
- Isopropyl alcohol (90% or higher)
- Lint-free cloth or paper towel
- Small plastic card or spatula (optional)
Steps:
- Power off and disconnect the PC from the power source.
- Remove the side panel and locate the CPU cooler or heatsink.
- Remove the heatsink: Undo screws or mounting mechanisms and carefully lift the cooler off the CPU.
- Clean the CPU and heatsink: Use isopropyl alcohol and a lint-free cloth to remove any old thermal paste from both the CPU and heatsink.
- Apply thermal paste: Place a small, pea-sized dot of thermal paste in the center of the CPU.
- Reattach the cooler: Carefully place the cooler back onto the CPU, ensuring even contact with the thermal paste. Tighten the screws or mounting system.
- Reconnect everything and power up the PC.
Thermal Pads
Thermal pads are typically used for components like VRMs, memory chips, or the GPU on a PC.
What you’ll need:
- Thermal pad
- Scissors (to cut the pad to size)
- Isopropyl alcohol (optional)
Steps:
- Clean the surface: Use isopropyl alcohol to clean the area where the thermal pad will sit (e.g., on VRMs or GPU).
- Cut the thermal pad: Cut the pad to the appropriate size to cover the chip or area you need to cool.
- Place the thermal pad: Peel off the protective film from both sides of the thermal pad and carefully place it onto the surface.
- Reassemble the PC: Mount the cooler back onto the component, ensuring it makes good contact with the thermal pad.
2. Laptop
Thermal Paste
What you’ll need:
- Thermal paste
- Isopropyl alcohol (90% or higher)
- Lint-free cloth or paper towel
- Small screwdriver
Steps:
- Power off and unplug the laptop.
- Open the laptop: Remove the screws and back panel to access the CPU or GPU.
- Remove the heatsink from the CPU or GPU.
- Clean the surfaces: Use isopropyl alcohol to clean both the chip and heatsink, removing any old thermal paste.
- Apply thermal paste: Apply a small, pea-sized dot of thermal paste to the center of the CPU or GPU.
- Reattach the heatsink: Place the heatsink back onto the CPU/GPU and tighten the screws.
- Reassemble the laptop and power it on.
Thermal Pads
What you’ll need:
- Thermal pad (pre-cut or large sheet)
- Scissors
- Isopropyl alcohol (optional)
Steps:
- Clean the surface: Use isopropyl alcohol to clean the area where you will apply the thermal pad (e.g., around the memory chips or VRMs).
- Cut the thermal pad: If using a large sheet, cut it to fit the area.
- Place the thermal pad: Peel the protective film off the thermal pad and apply it to the clean surface.
- Reassemble the laptop and secure everything back in place.
3. Game Console (e.g., PS4, Xbox)
Thermal Paste
What you’ll need:
- Thermal paste
- Isopropyl alcohol (90% or higher)
- Lint-free cloth or paper towel
- Small screwdriver
Steps:
- Power off and unplug the game console.
- Disassemble the console: Remove the outer casing and any internal components to access the CPU/GPU (following a model-specific guide).
- Remove the heatsink from the CPU or GPU.
- Clean both surfaces: Wipe off any old thermal paste using isopropyl alcohol.
- Apply thermal paste: Place a small, pea-sized dot of thermal paste in the center of the CPU/GPU.
- Reattach the heatsink and secure it.
- Reassemble the console and power it on.
Thermal Pads
What you’ll need:
- Thermal pad
- Scissors
- Isopropyl alcohol (optional)
Steps:
- Clean the area: Clean the surface where you’ll apply the thermal pad (e.g., memory or VRMs) with isopropyl alcohol.
- Cut the thermal pad to size.
- Place the thermal pad: Peel the protective film and place it on the cleaned surface.
- Reassemble the console and power it on.
4. LEDs (LED Strips, Cooling Fans, or High-Power LEDs)
Thermal Paste
What you’ll need:
- Thermal paste
- Isopropyl alcohol (90% or higher)
- Lint-free cloth or paper towel
Steps:
- Check if thermal paste is needed: Most typical LEDs (like strips or low-power LEDs) don’t need thermal paste. However, high-power LEDs (used in specialized cooling systems) may require it.
- Clean the surfaces: If applying thermal paste, use isopropyl alcohol to clean both the LED and heatsink.
- Apply thermal paste: Place a small, pea-sized dot of thermal paste on the back of the high-power LED or its heatsink.
- Reattach: Carefully press the LED against the heatsink to spread the thermal paste evenly.
Thermal Pads
What you’ll need:
- Thermal pad (usually thin, pre-cut for LEDs)
- Scissors (if cutting to size)
- Isopropyl alcohol (optional)
Steps:
- Clean the surfaces: Clean both the LED and heatsink with isopropyl alcohol if necessary.
- Cut the thermal pad: If needed, cut the thermal pad to size.
- Place the thermal pad: Peel off the protective films from both sides of the thermal pad and apply it to the LED or heatsink.
- Reassemble: Attach the LED to the heatsink, ensuring the pad makes good contact.
General Tips for Both Thermal Paste and Pads:
- Use the right amount: A small, pea-sized dot of thermal paste is usually enough. Thermal pads should cover the entire surface area needing heat transfer.
- Avoid air bubbles: Ensure good contact between the thermal paste or pad and the components to prevent air pockets that can affect heat dissipation.
- Reapply when necessary: Thermal paste and pads degrade over time, so it’s advisable to replace them every few years.
This guide provides a general overview for applying thermal paste and thermal pads to different devices. Always consult device-specific instructions, especially when disassembling laptops, consoles, or other devices.
